Introduction to Project Redesign
|
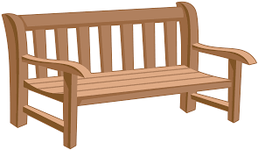
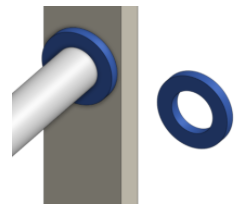
For this project we were tasked with redesigning a bench. Now I want you to take a second and imagine a bench. I'm guessing you're envisioning something pretty similar to the image on the left, correct? Maybe even just a slab of concrete without a back or arm rests. Well it's about time the bench got a makeover! That's where parametric benches come in.
These benches are made by individual pieces held together by a "rib" or "spleen" running down the length of it. We were encouraged to make the design using PVC pipes and it turned out that would actually be the best option for my design. Now that I've covered what the project is, let's go to the drawing table! |
Concept
|
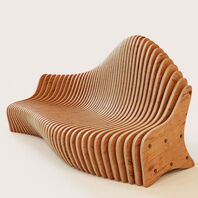
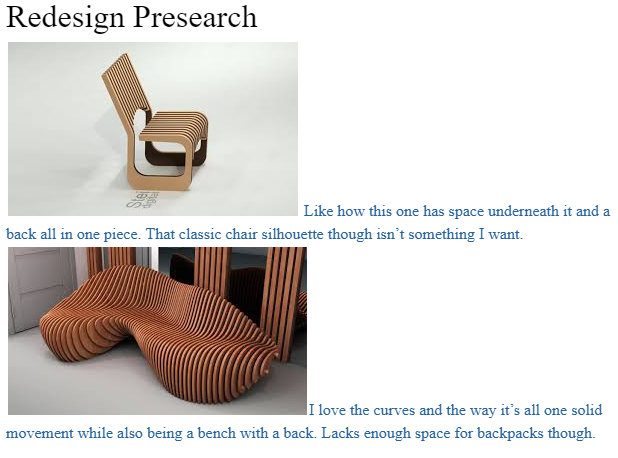
Right from the get go I was stumped on what my bench was going to look like. I would have loved to design something that looked like a melting marshmallow (idk that's the first thing that comes to mind) but I didn't feel confident that I would have enough time to design something so big and complicated. I was trying to juggle other school projects so I didn't want to add something huge to the already giant pool of projects I had going on. Then I stumbled on a parametric chair! I was against the "classic chair silhouette" because the image to the top left really does have the outline of a regular chair. That would have been too easy. I finally got the inspiration from our "zero gravity" chairs out on our deck. I wanted to mimic the "free floating" furniture in this project!
|
|
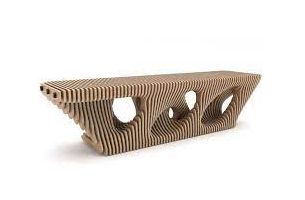
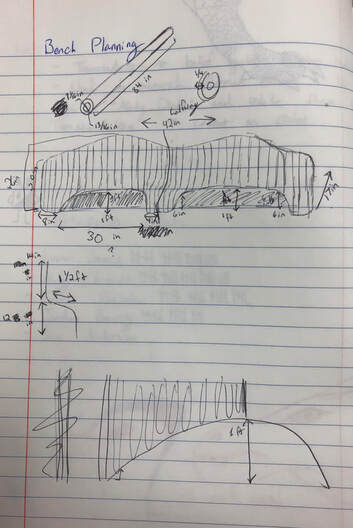
I had lots of issues coming up with the space below the bench for the backpacks. I wasn't sure if the bench would be able to support itself when most of it's pieces were off the ground. It made me nervous but in the end I put a little faith in myself and my bench. I would put a middle section where the bench touched the ground again just to make sure the bench was stable. That's seen with this bottom text in blue to the left saying "If I put in a midsection then I won't be as nervous about weight and balance".
|
|
|
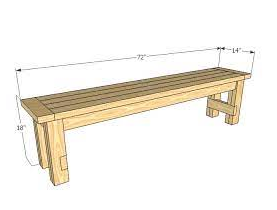
- We did have some dimension restrictions for this project:
- No 90 degree angles - 17 in depth - 26 in height - between 72-96 in long I wanted a bench sort of right in the middle of the length spectrum so in the end my pipe ended up being 83.75 in long (had to cut off a quarter of inch for clean finish) and the maximum height. The depth is also max but only 15 in of actual sitting depth. I allowed 2 in for the back of the bench. I wanted the design to be one solid flow with three places for the pipes for best structural integrity. Did I need three pipes? No clue. There's a foot from the ground to where you'd sit plus the few inches of plywood left over from the locker area. That left a lot room left over for your back which I felt was need for the "comfort" criteria. My doodles may be awful but it got my ideas across and measurments down! |
Designing in Onshape
|
|
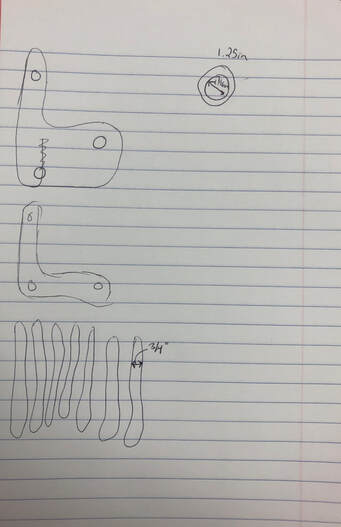
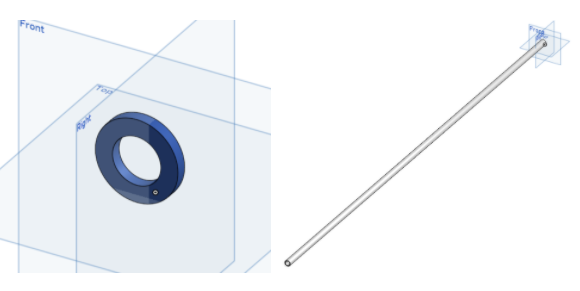
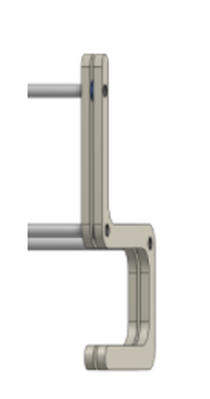
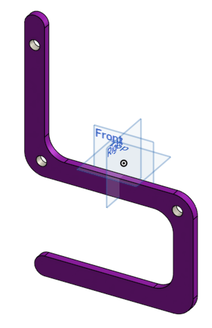
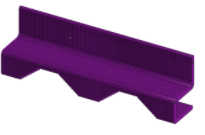
Because the parametric bench pieces are spaced apart you need a spacer! A little guy that's 3/4 of an inch thick, same as the bench pieces. Designing this bench in Onshape taught me a lot about the website! No freedrawing in this website, so I had to draw a bunch of rectangles connected together then do "sketch fillet" on all the points to make the piece smooth. I could copy and paste all my files nicely to create the slope pieces which were 0.8 shorter than the previous piece as well as free floating. In the assembly, it was a bunch of repetition. Once you "fix" the first piece so that it doesn't move you really only need to use one function in the assembly and that's "fasten" where you choose two surfaces and they fasten together. I did this for each spacer to a piece then the piece to those spacers and repeat. I hit a snag with the pieces where the slope up ends but after half an hour I designed a piece that was flush with the rest of the bench! It was amazing to see the bench slowly come into shape.
|
Printing Process

|
|
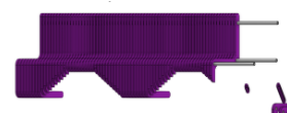
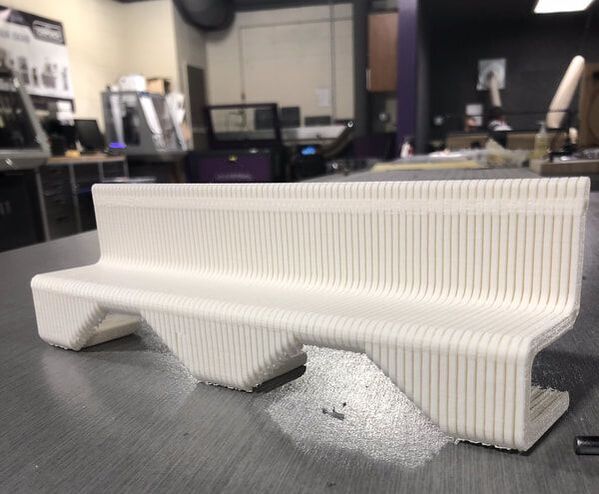
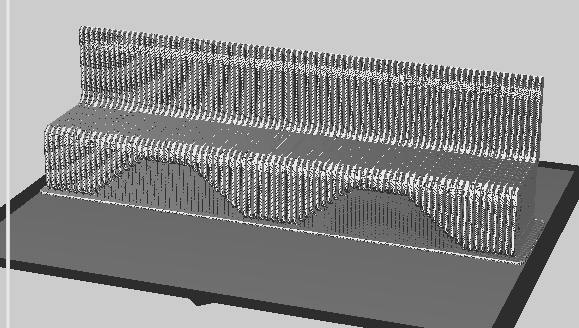
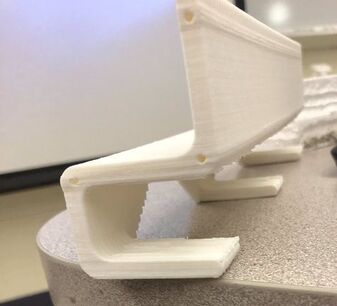
Setting up this design in the 3D printer was pretty painless because in Makerbot there is a size setting labeled "Maximum Size" that really takes care of the whole thing. Deciding how I wanted my bench positioned though? There really wasn't a position where the print wouldn't need supports so it was fine as is. As you can see from the picture on the top right the supports took up the entire bottom of the bench and took and hour to get offwhen it was done printing. After some plastic splinters and dentist tools there's the finished product on the bottom! It looks amazing and I'm so happy I made a "freestanding" bench that actually works! There are still some uneven supports left over but it doesn't harm the overall design. This thing took 17 hours to print!
|
Summary
During the creation of this bench I learned the importance of pushing myself. To go above and beyond! I have realized that I can do big things! I can make incredible, complicated, original designs! I can go farther than I think, my skills have really developed and it's about time I push myself past the boundaries of what I know I can do. I asked myself so many times throughout this project: "Can I do this?" but I would press on each time believing that I could! Fellow makers you can do big things. You are more capable than you realize, you just have to start. An idea, even lasting for a second, can lead to big things! If you have an idea don't abandon it! Learn new things, try harder projects, expand your knowledge! This bench showed me how far I've come and how far I can still go. As always, happy creating!
